MACHATT 極美品キルティングテントシルエットコート ベージュfree
(税込) 送料込み
商品の説明
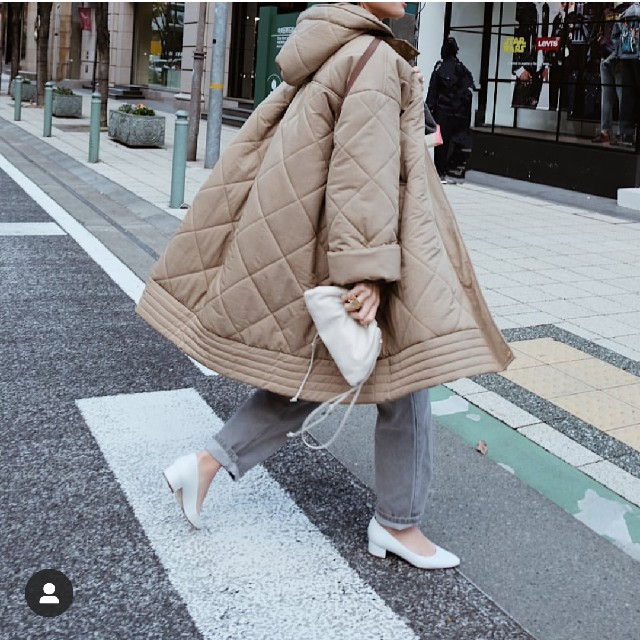
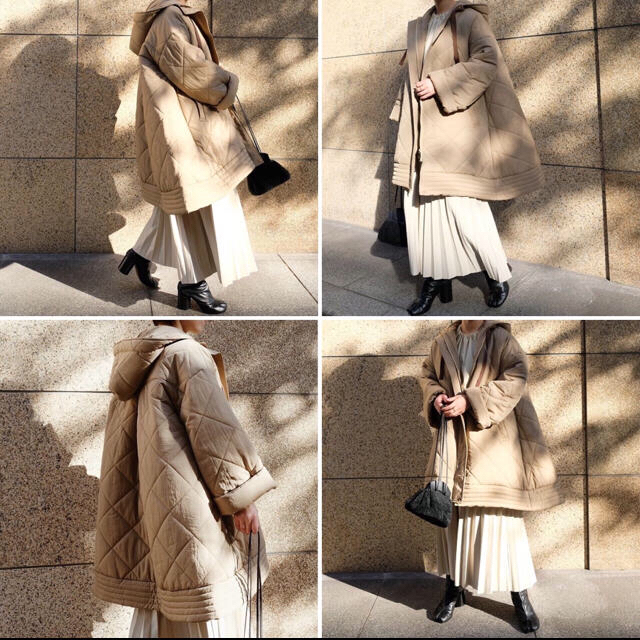
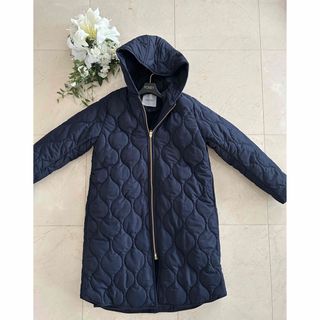
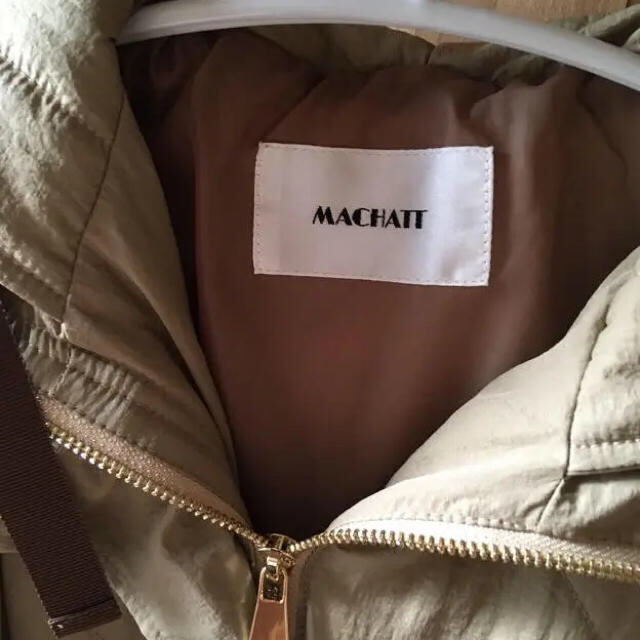
machattキルティングテントシルエットコート
ビックシルエットで体から離れて後ろにボリュームが出るデザインです。
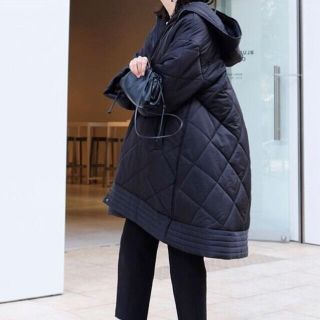
背中に大きくタックを施し、テントラインが魅力の1枚です。ものすごく軽くて、暖かく、シルエットはモード感あり、とてもおすすめです。
リボンにゴールドボタンのディテールも可愛いお品です。
数回着用の美品です。
フリーサイズで、ゆったりしたシルエットで着込めます。
価格税込 39,
肩幅:61cm 胸囲:130cm 総丈:94cm 裾幅:94cm
表地・裏地・中綿
ポリエステル
カラー...ベージュ
種類...キルティングジャケット
着丈...ミドル
着丈...オーバーサイズ
素材(詰め物)...ポリエステル(中綿)
#ユナイテッドアローズ
#トゥモローランド
#UNITEDARROWS
#TOMORROWLAND
#デプレ
#DESPRES
#イエナ
#IENA
#シップス
#SHIPS
#スピックアンドスパン
#SPICKANDSPAN
#エストネーション
#ESTNATION
#アーバンリサーチ
#URBANRESEARCH
#ナノユニバース
#nanouniverse
#ドゥーズィエムクラス
#神崎恵
#セブンテン商品の情報
| カテゴリー | ファッション > レディース > ジャケット・アウター |
|---|---|
| 商品のサイズ | FREE SIZE |
| ブランド | マチャット |
| 商品の状態 | 目立った傷や汚れなし |
MACHATT マチャット コート 新品 - アウター
machatt マチャット キルティングテント コート 39380円の通販 by hato

machatt マチャット キルティングテント コート 39380円の通販 by hato

2024年最新】マチャット machatt ダウンの人気アイテム - メルカリ

machatt マチャット コート キルティング テントコート お得な情報満載

マチャットmachatt キルティング テントコート マチャット メーカー直

MACHATT マチャット コート 新品 - アウター

マチャットmachatt キルティング テントコート マチャット メーカー直

マチャットmachatt キルティング テントコート マチャット メーカー直

卸売 MACHATT マチャット キルティングテントシルエットコート
machatt マチャット キルティングテント コート 39380円の通販 by hato

2024年最新】マチャット machatt ダウンの人気アイテム - メルカリ

マチャットmachatt キルティング テントコート マチャット メーカー直

MACHATT マチャット コート 新品 - アウター
machatt マチャット キルティングテントコート ブラックの通販 by

マチャットmachatt キルティング テントコート マチャット メーカー直

MACHATT マチャット コート 新品 - アウター
キルティングテントコートの通販 by Msk351212's shop|ラクマ

2024年最新】マチャット machatt ダウンの人気アイテム - メルカリ

大人気商品 ダウンコート machatt マチャット ダウンコート マチャット

卸売 MACHATT マチャット キルティングテントシルエットコート

マチャットmachatt キルティング テントコート マチャット メーカー直

マチャットmachatt キルティング テントコート マチャット メーカー直

machatt マチャット キルティングテント コート 39380円の通販 by hato

かわいい! PINKHOUSE ワンピース - www.blossomschool.in

2024年最新】マチャット machatt ダウンの人気アイテム - メルカリ
machatt マチャット キルティングテント コート 39380円の通販 by hato

かわいい! PINKHOUSE ワンピース - www.blossomschool.in

楽天スーパーセール AMERI リバーシブルボアポンチョコート エコファー

2024年最新】マチャット キルティングコートの人気アイテム - メルカリ

コート スウェード フォックスファー ストライプ 古着 ベージュ 茶

キルティングテントコートの通販 by Msk351212's shop|ラクマ

コーティングタイプライター キルティングショートコート

2024年最新】マチャット machatt ダウンの人気アイテム - メルカリ

machatt マチャット キルティングテントコート ブラックの通販 by

かわいい! PINKHOUSE ワンピース - www.blossomschool.in

コート スウェード フォックスファー ストライプ 古着 ベージュ 茶

楽天市場】丸みがかったシルエットが愛らしいマットタフタキルティング

再値下げ ローリーズファーム スタンドカラー ショートコート L

2024年最新】マチャット キルティングコートの人気アイテム - メルカリ


商品の情報
メルカリ安心への取り組み
お金は事務局に支払われ、評価後に振り込まれます
出品者
スピード発送
この出品者は平均24時間以内に発送しています


